Installing kitchen cabinets
The kitchen shelves were ordered and have arrived. Now it's time to put in them and in most instances a few superior planing is needed. This specifically holds genuine if the set up is for a remodeling project. We'll assume that the shelves that have been ordered are the correct ones so the first factor that I do is a few checking.
Is the ground stage?
The manner I do that is by means of putting in place a laser transit in the room along with the one below.

Laser transits have many makes use of.
Once this is installation it's going to spin and create a really perfect laser level line on the wall. I then take a chalk line and snap a line that suits that one. I now have a level line to reference and through measuring from that line to the floor at various points I am capable of decide if the ground is degree. If the floor isn't level then I can make marks down from my reference line to create a degree line with every other chalk line. Now I know wherein shimming or trimming might be required.
Are the corners rectangular?
This is easily accomplished with a standard framing square and allows me to see if I will need to make adjustments. I also need to check the corners to see if they are plumb as many are not.
"Some floors and partitions have uneven (excessive or low) spots, so as to have an effect on the set up. It will be important to discover those choppy regions and shim or scribe cabinets for you to make the set up plumb, actual and square. Use the subsequent approaches to pick out your uneven regions."

Cabinet layout and training
Studs and blocking?
As there is nothing on the walls yet I need places that I can secure the cabinets to. Putting a couple of screws into a Sheetrock wall won't cut it. If this is a new kitchen then critical blocking should have already been added. However in remodeling projects you'll need to locate and mark the studs so that you have a strong place to attach your cabinets.
Starting the installation.
I do my installations a bit different than many. Many will add a ledger board at the desired height and install the upper cabinets first while they can get right up against the wall. I start with the base cabinets as this is the system that works for me.
The first cupboard is critical. It must be hooked up flawlessly in regards to plumb, level and rectangular or every one after it will likely be off by an growing quantity. At this junction its take a look at, check and re-take a look at until you have fully attached the cabinet to the blockading or studs. Once that is performed you could attach, shim, plumb and stage the subsequent one. As you flow along you will additionally want to connect the face frames together. Here I clamp the two devices together and drill and screw them securely to each other with a end head trim screw.

Clamping and securing frames together.
Installing the higher cabinets.
The subsequent step for me is to apply the chosen counter pinnacle material, which I'm going to gloss over for now.
When this is performed I am now geared up to apply the identical strategies as for the base units however with a couple of wonderful jacks.

A on hand cabinet jack
I even have already marked the wall with a stage line to reveal wherein the bottom of the unit could be. Now with two of the above jacks in function, I positioned the cabinet on pinnacle of them and with the squeeze handles I can micro modify it to be exactly wherein I need it and not using a actual attempt. Once it's far set in region you simply practice the screws and pass to the subsequent unit.
The completed undertaking!
Planning and putting in kitchen cabinetry takes time however the finished product is properly well worth it.
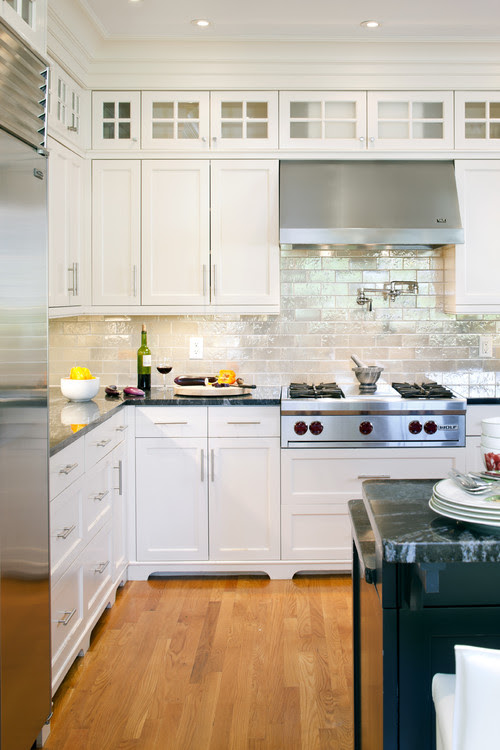
contemporary kitchen design by boston architect LDa Architecture & Interiors
For further reading please visit my blogs-http://www.thebuildingblox.com/
andhttp://www.socialmedia4builders.com/